
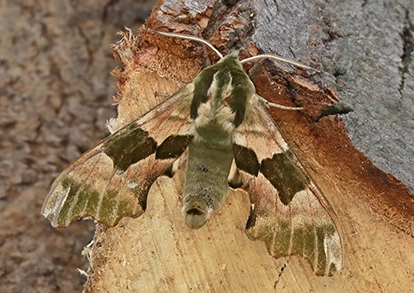
The Teacher Guide Act 2: Collecting Moths
The middle two phases in the MothEd Teacher Guide focus on preparing students for the action! Students are supported to ask their own research questions about moths, create their own trapping apparatus, and start collecting moths.
Phase 3: Design
LESSON 3: Build a Trap!
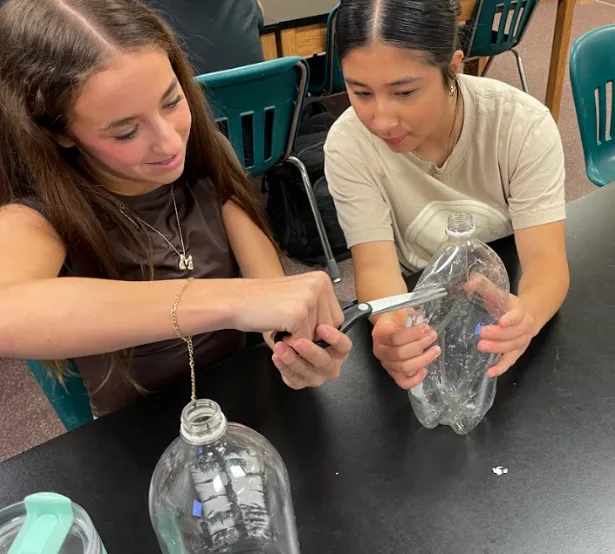
In the first lesson of the Design phase, Build-a-Trap!, students construct their own moth traps using 2-liter bottles, gaining firsthand experience with the tools they’ll use to study local moth populations. The step-by-step building process introduces basic engineering design principles while encouraging collaboration and creative problem-solving. As students craft their traps, they deepen their understanding of trap function and prepare to use them for authentic scientific investigation.
Learning Outcomes:
By the end of this lesson, students will be able to:
- Understand and describe trap components and function, applying scientific knowledge to design.
- Explain how moth behavior influences trap design and effectiveness.
- Plan and construct a functional moth trap.
Activities:
Some of the activities in this lesson include:
- Students then engage in discussion about the function of each trap part, encouraging students to think about design and purpose.
- Students build their own moth pop bottle traps. Teachers have several flexible options for facilitating trap construction. For example, a subset of trap-building materials can be pre-prepared for younger grades, or the class may choose to focus on only one or two research questions as a group (which could require fewer traps). Older grades, or more crafty students, may want to propose alterations or variations on trap design as part of their research question. Additionally, students can be guided through the steps of trap building by using a slideshow, or a handout.
———-
LESSON 4: Designing Experiments and Forming Hypotheses.
The second lesson in this phase, Designing Experiments and Forming Hypotheses, provides a framework for students to design and carry out their moth-trapping investigations. Drawing on their understanding of moth behavior. Students develop testable questions, form hypotheses, and select trap locations to explore ecological patterns. In doing so, students learn the importance of clear experimental design, controlled variables, and evidence-based reasoning.
Learning Outcomes:
By the end of this lesson, students will be able to:
- Identify and explain the key elements of a scientific experiment (research question, variables, and hypothesis).
- Develop a testable research question and formulate a hypothesis based on scientific reasoning.
- Apply knowledge of moth behavior, feeding, and habitats to predict effective trap locations.
Activities:
The activity in this lesson includes:
- A slideshow and an accompanying worksheet help students to finalize their proposed trapping locations, encouraging decision-making to be grounded in logical and defensible ecological reasoning.
Students complete an experimental plan worksheet to lay out their
Phase 3: Collect
LESSON 5: Trapping!
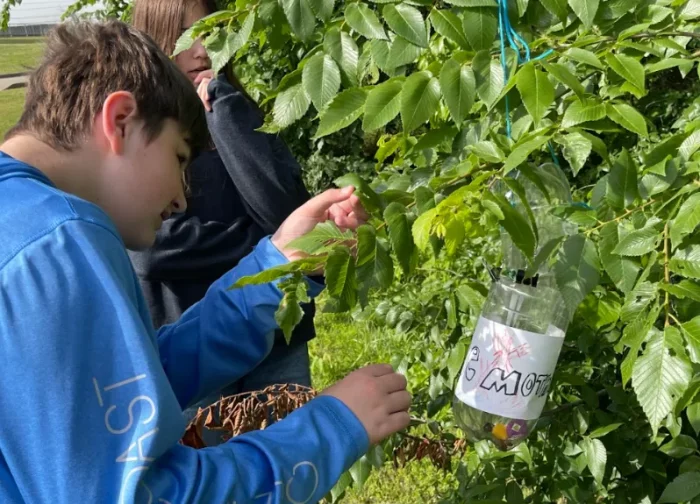
In the first lesson of this phase, Trapping!, students take on the role of field scientists as they deploy their own moth traps to begin collecting real-world data. Through hands-on engagement with the trapping process, they take the first steps in authentic scientific investigation. The lesson outlines multiple options for how trapping can be implemented – whether at school, at home, or by the teacher – making it adaptable to different classroom settings.
Learning Outcomes:
By the end of this lesson, students will be able to:
- Prepare and place traps according to their experimental design.
- Apply understanding of effective trap deployment to monitor trap placement.
- Recognize and minimize potential sources of error or bias during trap placement.
Activities:
The activity in this lesson includes:
- Teachers are walked through the process of preparing for trapping and selecting the most appropriate trapping method for their classroom. Whether traps are set at school, at home, or another location, teachers are encouraged to choose the approach that best fits their students, school policies, schedule, and resources.
- Students and/or teachers set traps overnight and return the next school day with their collected specimens.
———-
LESSON 6: Sorting and Pinning.
The second lesson in this phase, Sorting & Pinning, focuses on teaching students how to collect, sort, and preserve moth specimens from their traps. Students will develop sorting guidelines based on observational traits such as color, size, or wing patterns – honing in on data organization skills. Students also learn how to pin moths for identification and long-term preservation.
Learning Outcomes:
By the end of this lesson, students will be able to:
- Develop and apply sorting guidelines based on moth characteristics.
- Record specimen data using CLUE platform or alternative data collection tools.
- Demonstrate proper moth pinning techniques to preserve specimens.
Activities:
Some of the activities in this lesson include:
- Students are introduced to the concept of sorting and preserving their catches. A “Think-Pair-Share” discussion, facilitated by the teacher, encourages students to reflect on the importance of sorting, identifying, and preserving moths.
- Moths are sorted, using sorting sheets, based on morphological characteristics like body size, wing size, wing shape, antenna type, coloration, and so on. Teachers are encouraged to allow students to come up with sorting and pseudospecies characteristic guidelines. Students use these guidelines to catalog their data.
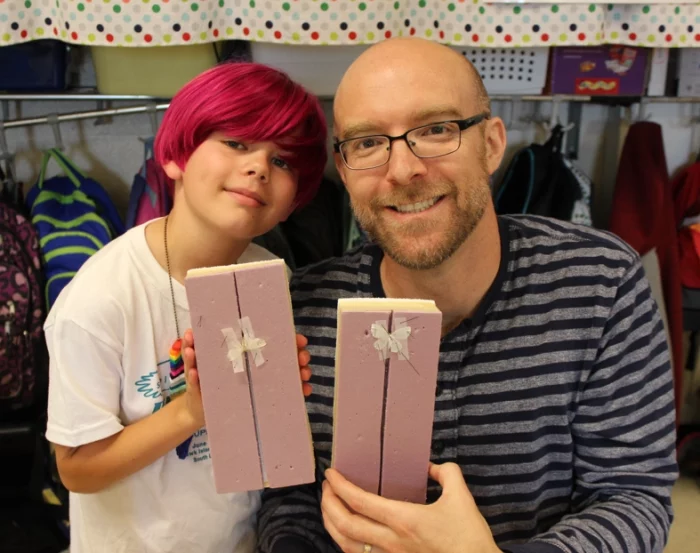
- Teachers walk students through the steps of pinning and persevering moths. Teachers again have a variety of instructional routes to do this: modeling pinning procedures in small groups, having students practice using paper or 3D-printed moths, or watching a pinning video tutorial.
Teachers also have the opportunity to lead students through basic moth taxonomy, using a slideshow and accompanying moth identification guide.